Table of Contents
This is an old revision of the document!

IH: Wheels, Brakes & Tires - Sub-02T
1974-1977 Front Brake Pad Replacement
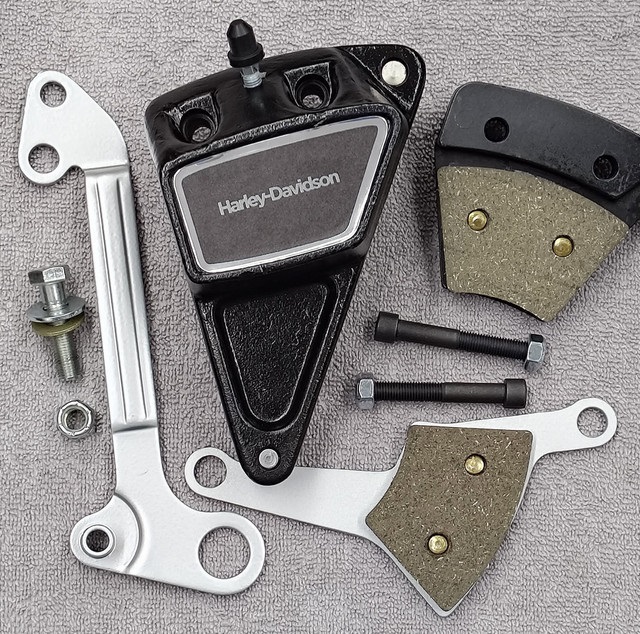
The 74-77 pie slice caliper uses pads that are riveted to the backing plates.
Changing the brake pads means removing the rivets and pads and installing new rivets to hold the new pads.
When to Replace the pads
The FSM says to replace the pads if they are worn down to the indicator groove on the bottom of the pad.
But any time you are having trouble with them stopping or experience vibration when applying the lever is a good time to inspect or replace them.
Spilling brake fluid on the pads is also a good reason to replace them.
Removing the Brake Pads and Rivets
The pads should be replaced as a set so you'll need to drill out all 8 rivets using a 9/64“ drill bit to remove the old pads.
Installing the Brake Pads and Rivets
There are several ways to replace the pads. The rebuild kit contains the pads and hollow rivets needed.
- One way is to take them to an auto brake shop that does it's own riveting and/or bonding and have the pad riveted or even bonded to the backing plates. 2)
- If you want to replace the pads yourself, it's best to have the right tools to install the rivets so you don't split the rivets.
- A riveting press is generally used at an auto brake shop. You can buy a portable brake rivet tool that reduces the chance of cracking not only the rivet but also of the lining material. 3) It also helps avoid the costly warping of brake assembly back plates and pressure plates, often associated with using the hammer type method.
- If using the hammer and punch method; 4)
Clamp a piece of round bar upright in the vise, just the right size to fit in the recess in the pad and hold the head of the rivet.
Push rivets through the pad and through the backing plate.
Hold pad and plate in position on the round bar in the vise.
Flare the end of the rivet with a large center punch hit with a hammer.
Try not to pound on it too hard or the rivet can split.
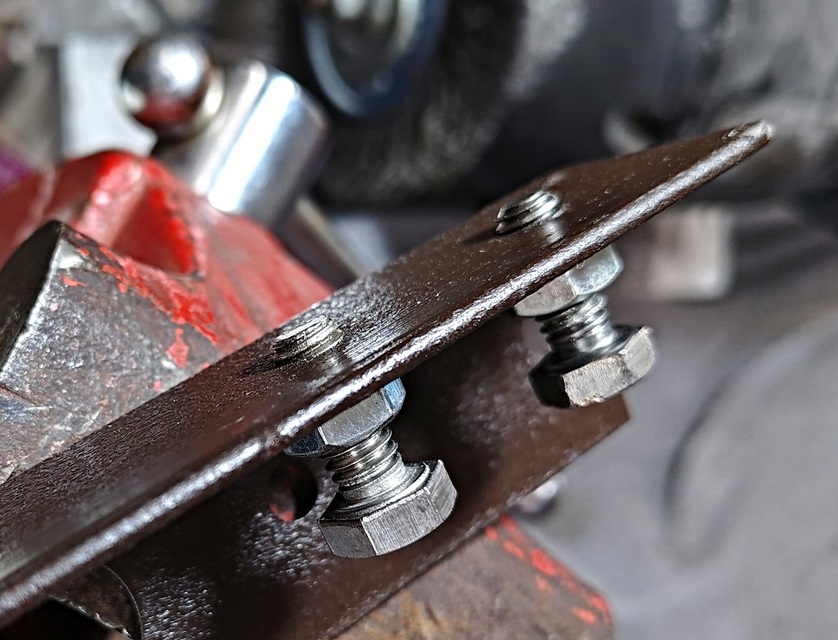
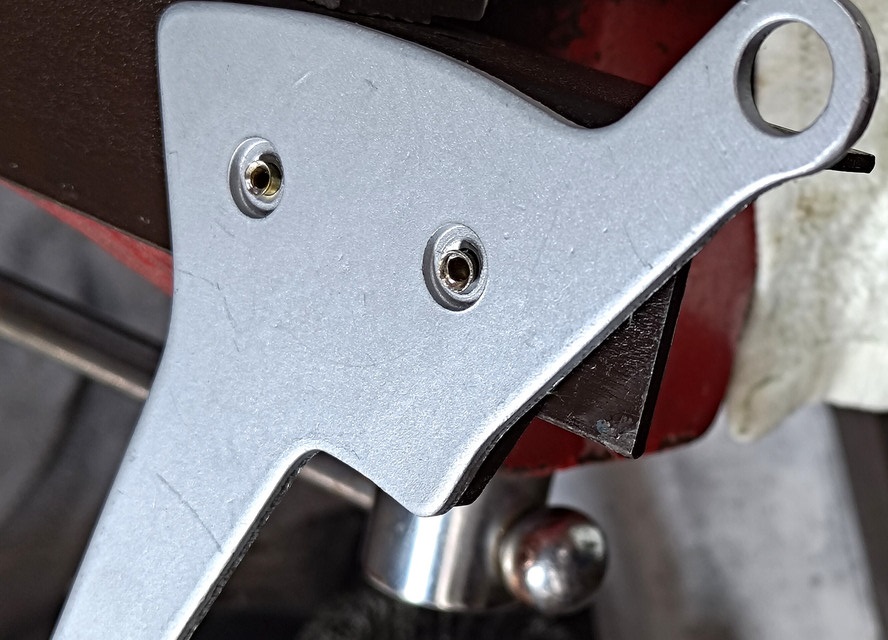
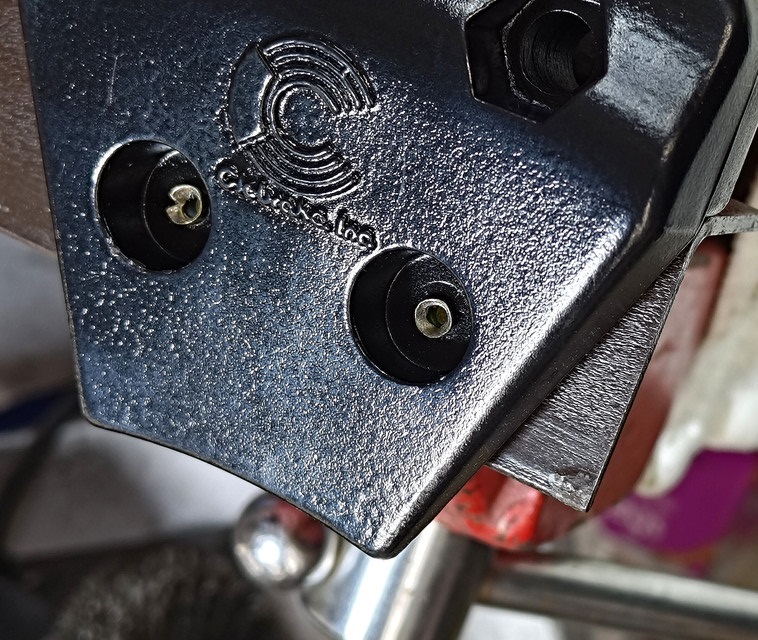
Here is another take on the hammer and punch method using a jig made from a piece of steel angle. Two holes were drilled in the angle and tapped for two 5/16”-18 holes to match the holes in the pads. Two short bolts were adjusted to fit against the rivet heads. The bolts were locked in place with nuts. The jig is then clamped in a vice.
 5)
5)  6)
6)
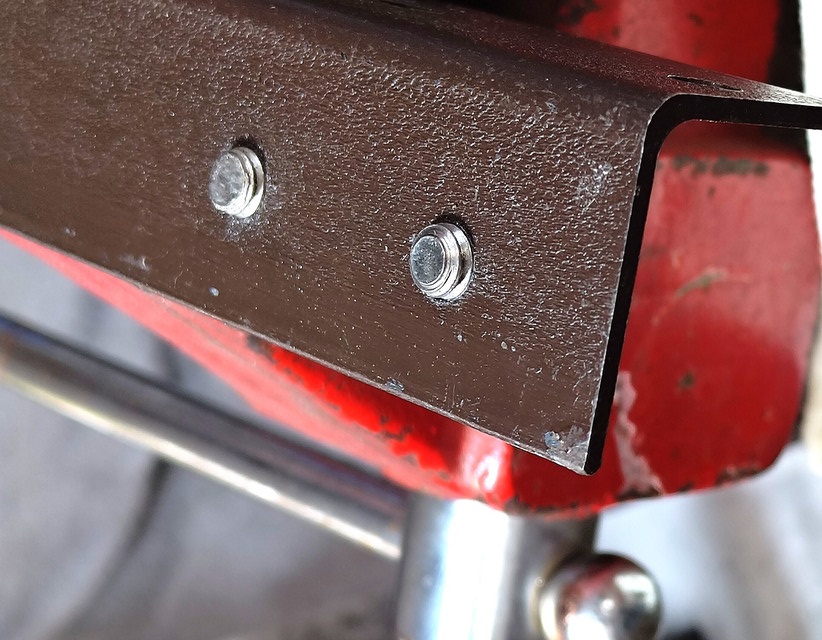
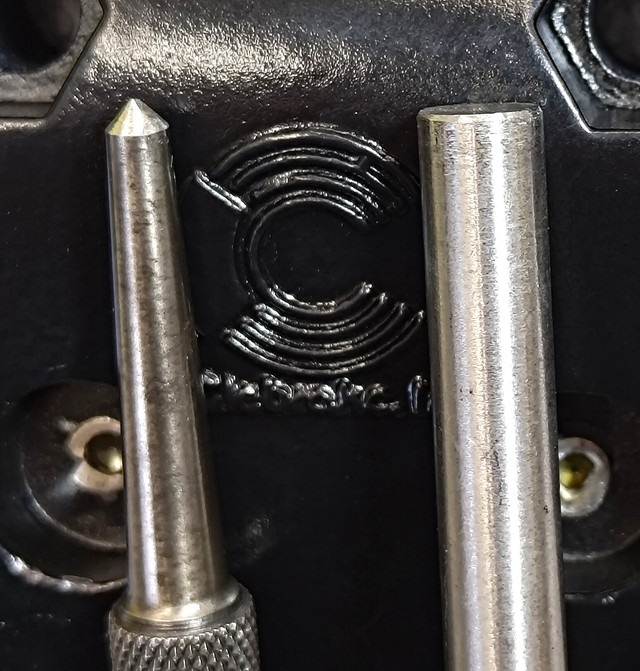
The outer pad and rivets are positioned on the floating pad plate and set on the jig. The rivets are hollow. A tapered center punch was used first to flare the tips. Then a flat 5/16“ punch was used to flatten and secure the rivets and pad. Be careful not to over-tighten and crack the pad.
 7)
7)

The process is repeated for the inner pad.
 10)
10)